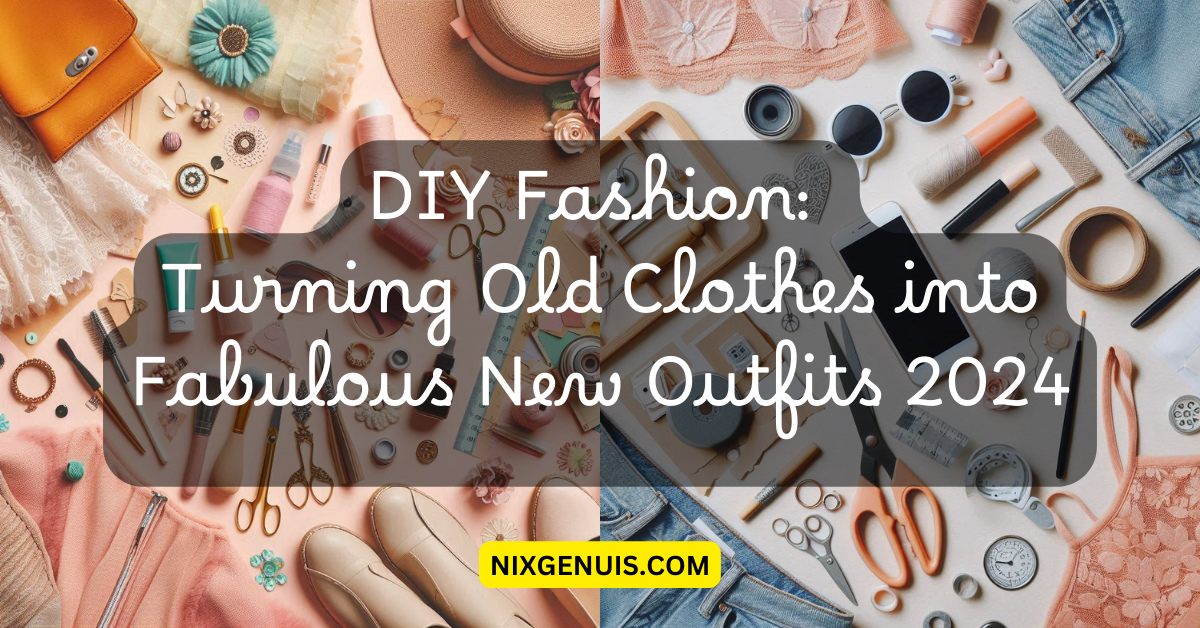
DIY Fashion: Turning Old Clothes into Fabulous New Outfits 2024
Introduction
Turning old clothes into new products is a way of recycling and creativity all at once and also fun DIY Fashion Projects. In the moment when people are eagerly buying clothes in stores, many of which are fast fashion brands, people are looking for solutions on how to avoid buying new clothes, but also to minimize wastage. In this article, I will explain the philosophy behind upcycling, as well as bring you a collection of tutorials and tips so you can learn how to turn your old clothes into new fashionable garments.
Upcycling
Upcycling or DIY fashion can be defined as the improvement of products from a lower phase of production into higher phase either physically or categorically. This is different from recycling where such materials are required to be transformed and processed afresh, and nhich is different from up cycler because up cycler does not in any way damage the original structure and finally make it accord with a higher value. DIY fashion has slowly picked pace as more people become aware of the effect of fast fashion on the environment.
Why Upcycle?
- Environmental Benefits: Textiles are one of the biggest culprits of what goes to landfills. Upcycling bring, about the reuse of fabrics where they can be used for other purposes rather than being dumped.
- Cost Savings: Many people think that upcycling is a perfect solution to make some changes in the wardrobe without buying new clothes.
- Unique Style: If you upcycle, every one of them is unique since there is only one that is produced. Who doesn’t want to flaunt their unique creativity and arriver which machine-made clothes cannot offer you?
- Skill Development: Upcycling can be also an excellent opportunity to acquire certain skills, for example, sewing, crafting, design.
How to Upcycle However, there is some general information one should acquire prior to going through individual lessons.
Tools
Gather these tools and materials to get started:
- Sewing Machine: Sewing helps many projects to be made easier and faster and yet one can choose to sew by hand.
- Scissors: In sewing, make sure to buy a nice fabric scissors for neat cuts.
- Needles and Thread: Always ensure that you use sizes that harmonize with your fabric.
- Fabric Glue: Ideal for no sew crafts and those little snags that need to be fixed fast.
- Measuring Tape: Measurement is a critical component for any successful project as pointed out above۔
- Iron and Ironing Board: A pressed fabric is more manageable and when doing sewing it provides a more polished look.
- Old Clothes: Choose the pieces with which you want to start and are willing to take part in the process of change.
Tutorial 1: T-Shirt to Tote Bag
Tote bags have started o become ver popular these days, from Billie Eilish to Snoop Dog everybody is crazy about it.
Materials Needed:
- An old T-shirt
- Scissors
- Needle and thread or just the sewing machine (if the material is a fabric).
Steps:
- Cut the Sleeves: First of all, tearing off the sleeves of the T-shirt. You will be left with the main body of the shirt only which you will style with the jeans you choose.
- Create the Bag Shape: Turn the shirt inside out. Sew along the edges, and bottom seam to make an opening for your tote at the bottom.
- Sew or Tie the Bottom: Sew the bottom manually or with a machine. you can also instead use a knot to tighten the fabric together. whatever suits you.
- Turn it Right Side Out: Turn the shirt the right side up.
- Decorate: Add your creativity by painting your new tote bag or by moving an embroidery pen to make patches. Here is your best opportunity to apply creativity!
Variations:
- Add Pockets: If you have additional fabric leftover from your tote, you can sew a pocket on the inside or the outside of your tote.
- Embellishments: As for extra finishing details, one can talk about putting buttons or fabric flowers.
Tutorial 2: Denim Skirt from Old Jeans
Materials Needed:
- Old pair of jeans
- Scissors
- Sewing machine
- Pins
Steps
- Cut the Jeans: First, you have to remove the legs of the jeans measuring the preferred length of the skirt that you wish to make.
- Create a Waistband: The first step is to utilize the top part of the jeans as the waist band. As you wish, you can add elastic in order to have very comfortable clothes.
- Sew the Edges: Iron the skirt and to avoid fraying its edges, it has to be fold and sewn. A sewing machine will afford a neat touch to the product to be manufactured.
- Add Details: Try using actual pockets or another pair of jeans to make patchwork and sew them alongside the jeans you are laundring.
- Finish with a Hem: This actually means that you can crisp up your skirt just by having a clean hem. Iron it for the shiny look.
Styling Tips:
See your denim skirt as casual wear and wear it with a plain t-shirt or even a band t-shirt. Layer with a denim jacket and to be more textured and stylish.
Tutorial 3: Wrapping the else from a Sweater to Cozy Blanket Scarf
Materials Needed: –
- Old sweater
- Scissors
- Measuring tape
Steps:
- Select the Sweater: Pick the sweater to be warm but also choose a friendly one. Oversized sweaters always give good results.
- Cut the Sweater: Slit along the sweater straight down the middle through the middle from the cuff to the collar line or even to the neckline wide enough to possibly go round the shoulders comfortably.
- Finish the Edges: If they are uneven you should try to trim them or sew or even buy fabric glue to make them neat.
- Style It: This year wear a new garment called the blankit scarf draped over the shoulders or round the neck when cold.
Enhancements:
- Add Fringe: Trim the scarf with scissors to leave jagged edges on the strips you just made around the edges of the scarf and then tie the strips of the scarf.
- Use Multiple SweatersIntroducing other forms of colors and textures will make the design produce more variation.
Tutorial 4:Refashioning the Old Button-Up Shirts
Materials Needed:
- Old button-up shirts
- Scissors Sewing needle and cotton or fabric cement
Steps:
- Cut the Shirt: Discuss whether or not to keep half of the shirt or any specific part of it all. It can be made into a cropped top or a nice dress if you cut it at the waist.
- Create a New Style: How about cutting the fabric from the shirt to make ruffles, ties, or overlays? This is a chance to wear each shirt with other trousers where required to get a different style.
- Sew or Glue: Stitch the new design and again using sewing or fabric glue make sure all the pieces are set tightly.
- Accessorize: The last thing you should do after altering your shirt is wearing it with the accessories like belt or other pieces of jewelry.
Additional Ideas:
- Patchwork Design: Layer different shirts in a chaotic manner; they should be, in fact, similar to patchwork.
- Use the Collars: Wait with cutting off the collars thus creating a modern cut with other fabrics.
Tutorial 5: Turning the Old Dresses into Skirts
Materials Needed:
- Old dresses
- Scissors
- Sewing machine, or a needle with some thread.
Steps:
- Choose a Dress: Find a dress that you do not wear anymore, but which you like the material that is used to make it. For this transformation, a fitted dress will be most ideal.
- Cut the Bodice: Hopefully, it remains undamaged to this part; if not, cut off the bodice portion as carefully as you can from the skirt.
- Adjust the Waist: If the skirt turned out to be too wide, sew up a new waistline and use elastic bands. Fasten the elastic to the top part of the skirt.
- Hem the Edges: Check that bottom of the skirt is properly finished to avoid it fraying. It also gives a professional touch to your creation which otherwise can boring look simple and dull.
- Style It: This new creation does not need any additional blouses or accessories to be worn; you can complement it with a bright top or a belt.
Mix and Match:
- Layering: Wear the new skirt atop leggings since it will keep you warm when you wear it in the cold season.
- Versatility: It is best to keep the bottom part neutral so for more versatility in the switch between business and casual try changing tops and accessories.
Tutorial 6: Creating a Patchwork Quilt
Materials Needed:
- Secondhand clothes (all kind of materials)
- Scissors
- Sewing machinePins
- Batting (optional)
Steps:
- Collect Fabrics: Get some old pieces of clothing. Using colour patterns and texture such as multicolours are some of the features to looks out for.
- Cut Squares: Measure a specific size of fabric square that will fill the area of the checkers that is to be used. Aim for at least 6×6 inches.
- Arrange the Pieces: To form the design of your stripes, arrange the squares on a flat surface as it forms your pattern. Tone, typography, and color the patterns should also be made a little bit complicated.
- Sew Squares Together: Join the squares and sew at the edges with a pin. You may lay squares until you achieve the size of the quilt you would want to accomplish.
- Add Batting: If you are wanting more insulation you might want to place a layer of batting between the quilt top and the backing.
- Finish the Edges: Finally sew around the entire quilt in order to hold the layers together.
Personalization:
- Embroider: Personalize a gift with the child and embroider or use fabric paint.
- Pockets: Save pockets removed from worn out shirts in an effort to capture the functional appeal.
Tutorial 7: How to make Mittens from Sweaters
Materials Needed:
- Old sweaters
- Scissors
- Sewing machine or needle with its appropriate thread
- Measuring tape
Steps:
- Choose a Sweater: Select a soft sweater. Wool or cashmere is perfect for this case.
- Cut the Sleeves: Trim the sleeves of the sweeter with a desired length for your mittens.
- Shape the Mittens: Turn the sleeve inside out. Find one of your hands, draw it on a paper and carefully cut a mitten out of it with extra space left for sewing.
- Sew the Edges: Stitch along the line which has been traced with darts open at the wrist. In the second step, just turn the mitten right side out.
- Finish the Cuffs: Over fold the top edge to produce a better finish for the cuff.
Variations:
- Fingerless Mittens: Palm was longer than the fingers, so cut the fingers down for a modern and fashionable fingerless mitten touch.
- Decorate: You can also stick buttons or patches for additional appeal to your mittens.
Tutorial 8: Turning Waste Old Towels into Bathrobe
Materials Needed:
- Old towels
- Scissors
- Sewing machine or need and thread
- Measuring tape
Steps:
- Select Towels: Accumulate different towels of the same color and fabric as they get old.
- Cut for the Robe: Required three towel pieces where one is for the body and two for the sleeves. The body should be as wide as to encompass you.
- Sew the Body: Take a body towel, fold it in half horizontally, sew along the length of the towel where the horizontal fold was made but leave gaps where your arms are going to be.
- Attach Sleeves: Shirt it in and attach all the sleeves on the armholes.
- Finish with a Belt: From the remaining towel fabric, fashion it in to a belt.
Customization:
- Add Pockets: Cinch-waist pockets as another feature that can be added.
- Embroidery: Add embroidered initials of your choice to your bathrobe.
Tips for Successful Upcycling
- Experiment Freely: People shouldn’t be scared of new concepts and layouts. Upcycling is an art, a form of creative expression into which the iterative element is infused.
- Research: You need to may search on the internet, blogs, social networks, various useful forums and even such websites as Pinterest, or Bles.com.
- Quality over Quantity: Stressing on the fabrics that can be durable in a long run.
- Plan Your Projects: Consider again what it is you want to build. Drawing out your ideas is useful.
- Practice Patience: Some projects may take time. Take your time and have fun while at it.
Inspiration and Resources
- Online Communities: Interact with upcycling and DIY related groups especially in the social networks. Ideas can be trigged from others, and the point is to share thoughts.
- Books and Blogs: More tutorials and sewing techniques can be found on books and blogs for sewing and upcycling.
- Local Workshops: This may require joining classes at craft shops or community college closest to your home. Learning in a group can be motivating and encourage your learning experience.
Conclusion
Silently DIY fashion your old wears by upcycling them to more wearable styles – DIY fashion is an eco-friendly project as well. Wearing stylish new clothes every time you get the chance to let your creativity out can also be a way of helping the environment. Every garment, whether it’s a tote bag from a T-shirt or a cozy blanket scarf from a sweater, let you make those personalized items that you desire. So start looking for old clothes, get inspired and start your DIY fashion adventure today! Besides economizing, you will feel the satisfaction resulting from creating a new, aesthetic object out of something that was once considered useless.
And that wraps up our journey into DIY fashion! Hope you’ve been inspired to put your unique spin on your wardrobe. For more fashion-forward tips and ideas, check out my article on Best Sweatshirts for Women
Stay stylish, stay creative, and keep those tunes going!
Masalqseen Good post! We will be linking to this particularly great post on our site. Keep up the great writing
Fran Candelera I do not even understand how I ended up here, but I assumed this publish used to be great
Tech Learner This is really interesting, You’re a very skilled blogger. I’ve joined your feed and look forward to seeking more of your magnificent post. Also, I’ve shared your site in my social networks!